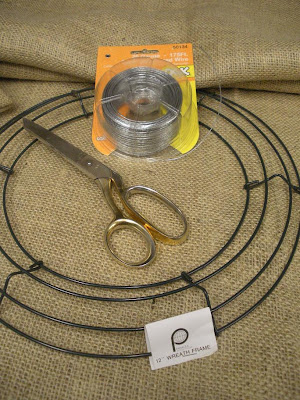
Using items that I already had,
I made a burlap wreath
for the front door
~
to go with my Crow Pillow !
If you would like to make one, too,
you will need:
2 yds. 54 inch wide burlap
12 inch wreath frame
wire for securing burlap to wreath frame
Cut 5 burlap strips 9inches wide
cutting from selvage to selvage through the burlap.
No need to be precise ~ it's rustic
so just eyeball it.
Use one of the strips to wrap around your wreath frame.
Secure with wire, leaving a tail (this will be the hanger)
and do not cut wire from the package.
Take another of the burlap strips and loosely fold in half with
the seam at the back.
(It won't stay, but this is the general shape you want your strips.)
With the longest piece at the back, fold a section over
and pinch to make a piece that looks similar to
a half of a bow.
Secure with the long piece of wire
(still attached to the carton)
wrapping around the wreath frame.
Continue folding and wrapping burlap
with the wire to the frame
covering the wire of the
proceeding fold with each
new one added.
When you run out of one piece of burlap
continue in the same manner with consecutive pieces
until the entire frame is covered.
I alternated the direction of the folds ~
first to the right and the next one a little toward
the left to help conceal the wire and give
a bit of a fuller look to the wreath.
I used 4 strips of burlap to complete the circle of the
wreath. You may need more or less, depending on how full
you want it to look and your folding technique.
When your wreath is as full as you like and have
completely covered the frame, cut the wire a few inches
long and twist together with the initial piece left
for the hanger to secure the burlap.
Embellish however you like.
I added a burlap bow ~ a piece of burlap
folded in a bow shape...
...and knotted with a second long strand
over the bow and wreath frame.
My finished rustic burlap wreath!
Ready to hang on the door!
When it is daylight!
Tomorrow!
~*~
Joining


